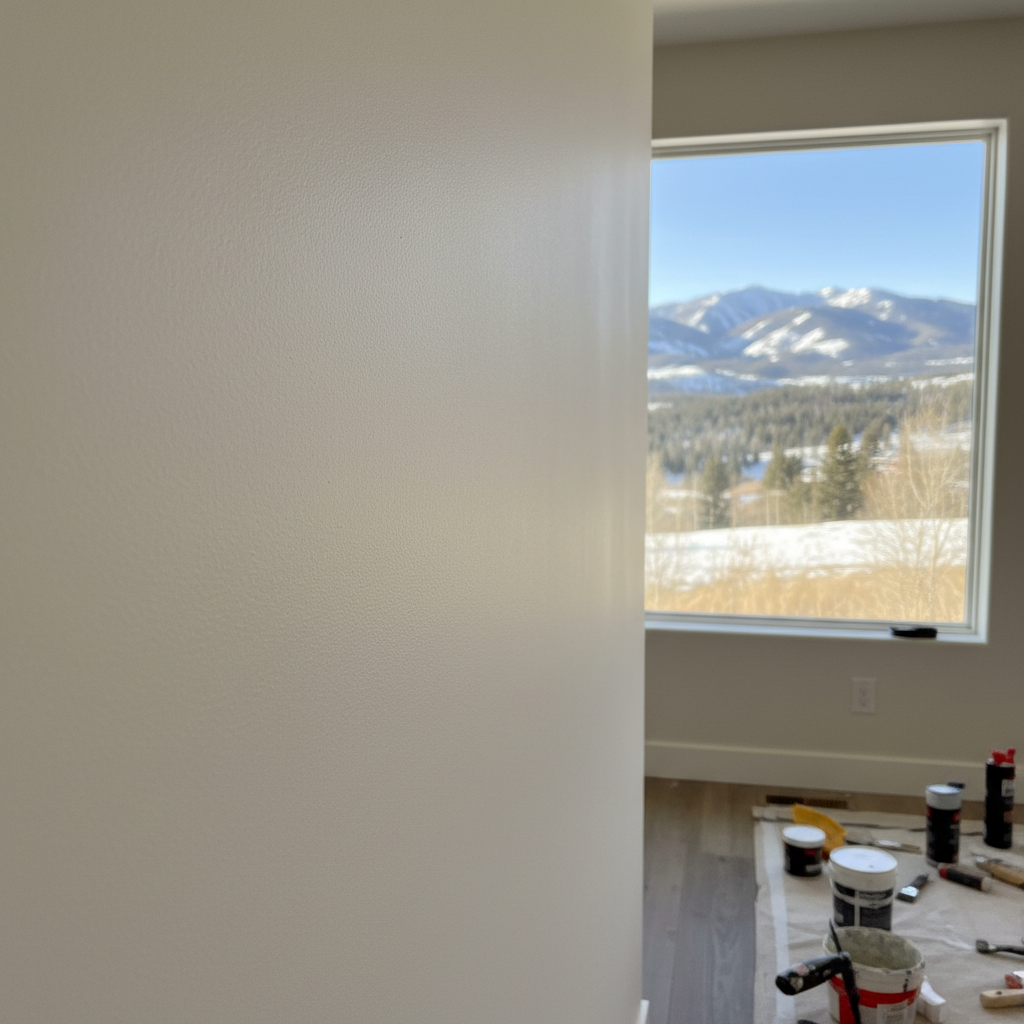
Drywall damage happens. It just does, especially in homes where people actually live, not just look. Maybe a door swung open too hard, or a kid got a little too enthusiastic with a toy. Or perhaps you had some plumbing work done and now there’s a hole. Whatever the cause, you’re probably wondering what it takes to fix it up and make it look new again. As a local contractor, I hear a lot of the same questions, so let’s just tackle them head-on, shall we?
What's the difference between a patch and a repair?
Good question, and it's not just about words. When I talk about a 'patch,' I'm usually thinking smaller – say, a nail pop, a tiny hole from a picture frame, or a minor scuff. These are often quick fixes: a little spackle, some sanding, then paint. A 'repair,' though, usually means something more substantial. We're talking about a bigger hole, a crack from settling, water damage, or even a section of drywall that needs cutting out and replacing. These take more skill, more material, and definitely more time to get right. You can often DIY a patch, but for a repair, especially a larger one, you really want to call in someone who knows their stuff.
Can I just paint over small cracks or stains?
You could, but you really shouldn't. Painting over a crack without fixing the underlying problem is like putting a band-aid on a broken leg. The crack will almost certainly pop back up, sometimes even worse than before. For small, hairline cracks, you might get away with a flexible caulk or a spackle made for cracks, but anything bigger needs proper taping and mudding. Stains, particularly water stains, are even trickier. If you just paint over a water stain, it'll bleed right through your new paint. You need to find and fix the water source first, let it dry completely, and then use a good quality stain-blocking primer. Don't skip that primer step, it’s absolutely crucial.
How long does drywall repair take before I can paint?
This is where patience really comes in, and it's often where DIYers get frustrated. It's not a one-and-done process, believe me. A typical drywall repair, especially if it involves mudding and taping, needs multiple coats of joint compound. Each coat has to dry completely before you can apply the next one, and then there's sanding. In Big Sky, with our often dry air, things can dry a bit faster than in more humid places, but you still have to respect the process. Generally, you're looking at a minimum of 24 hours, often 48 hours or more, from the start of the repair until it's truly ready for primer and paint. Trying to rush it will lead to cracking, uneven textures, or paint that doesn't stick properly. Trust me, it's worth the wait.
Do I need to prime after drywall repair?
Absolutely, 100% yes. This isn't an optional step; it's non-negotiable if you want a professional finish. New drywall or joint compound is very porous. It will absorb paint differently than the surrounding painted wall. If you don't prime, you'll end up with 'flashing' – dull spots where the paint soaked in more, making your repair obvious even after several coats of paint. A good quality primer seals the surface, evens out the porosity, and gives you a uniform base for your topcoat. It also helps with adhesion and gives you a much more consistent color and sheen. Seriously, don't skimp on primer.
Will the new paint match the old paint perfectly?
This is the million-dollar question, and the honest answer is: probably not perfectly, especially if the existing paint isn't brand new. Even if you have the exact same can of paint, factors like age, exposure to light, and even how the paint was put on originally can cause slight differences. Paint just fades and changes over time, doesn't it? If you're painting a small patch in the middle of a wall, you'll likely see a difference. For the best blend, we often recommend painting the entire wall from corner to corner. If it's a very small, inconspicuous spot, you might get away with just touching up the patch. But for a seamless look, especially in a high-visibility area like a living room or kitchen, painting the whole wall is usually the way to go. It's more work, but it's the only way to guarantee a truly uniform finish.
What about those textured walls common in Big Sky?
Ah, texture. We see a lot of different finishes around here, from smooth to orange peel, knockdown, and even some more custom troweled looks, especially in those newer homes up in Spanish Peaks. Matching texture is probably the trickiest part of drywall repair. It takes a skilled hand and a good eye. For simple textures like orange peel, we can often replicate it with spray-on texture products. Knockdown requires a bit more finessing with a trowel. The goal isn't just to fill the hole, but to make the texture blend seamlessly with the surrounding wall. If you've got a heavily textured wall, this is definitely a job where a professional like Big Sky House Painters can make a huge difference. We've got the tools and the experience to make that repair disappear.
Look, fixing drywall and painting it right isn't rocket science, but it does require attention to detail, the right materials, and a good bit of patience. If you've got a repair that's beyond a simple nail hole, or you just want to make sure it's done right the first time, don't hesitate to give us a call. We're here to help keep your Big Sky home looking its best.