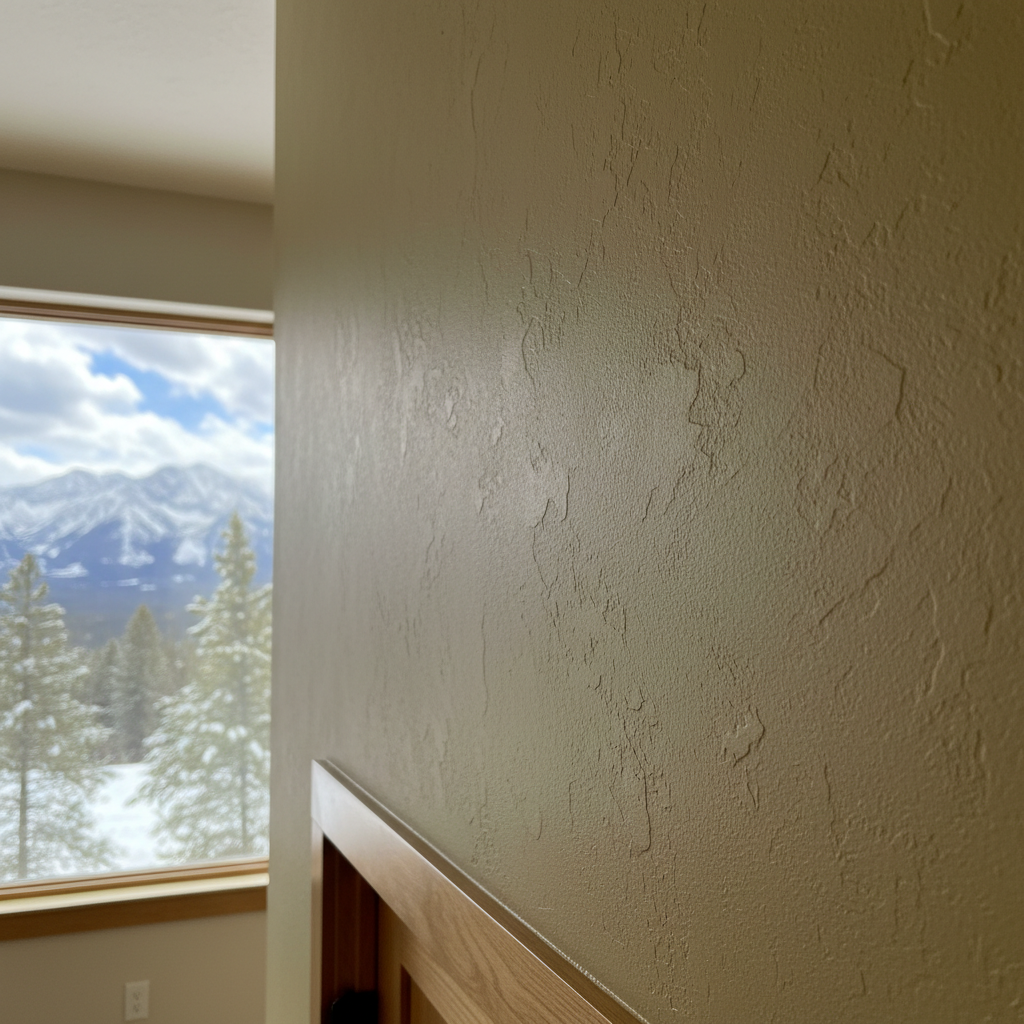
So, you're looking at those walls and thinking, "Time for a change." Good for you. A fresh coat of interior paint can totally transform a room, make it feel new, brighter, or even cozier. But before you grab a brush, let's talk about what's actually involved, what you can probably handle yourself, and when it just makes more sense to call in someone like us at Big Sky Custom Painting.
Before You Even Think About Paint
Planning is half the battle, maybe more. You wouldn't just start building a deck without a plan, right? Painting's pretty similar. First off, pick your colors. This sounds easy, but trust me, it can be a real rabbit hole. Grab some samples, paint swatches right on your wall, and live with them for a few days. See how they look in natural light, at night, with your lamps on. The light here in Big Sky changes a lot throughout the day, especially with those big windows many of us have, so don't rush this part.
Next, figure out your scope. Are you doing one room, a whole floor, or just the trim? This helps you budget for materials and, more importantly, your time. Be honest with yourself about how much time you actually have to spare. A weekend project can quickly turn into a two-week headache if you're not careful.
Then, materials. You'll need good quality paint – don't skimp here, really. Cheap paint means more coats, more frustration, and a less durable finish. You'll also need rollers, brushes, painter's tape, drop cloths, a spackle knife, spackle, sandpaper, and a good primer. Make a list, check it twice, and get everything before you start. Nothing's worse than being halfway through and realizing you're out of tape, is it?
Getting Down to Business: The Painting Process
Alright, you've got your plan and your gear. What's next? Prep, prep, prep. This is the most crucial step, and it's where most DIYers cut corners. Please, don't do it. Move all your furniture out of the room or push it to the center and cover it completely. Lay down your drop cloths. Tape off everything you don't want painted: trim, windows, outlets, light switches. Take your time with the tape; a clean line makes all the difference.
Now, inspect your walls. Any holes from old pictures? Cracks? Dings? Fill them with spackle, let it dry, then sand it smooth. Wipe down your walls to remove dust and grime. A slightly damp cloth works wonders for this. If you're painting over a dark color with a light one, or if you've done a lot of patching, prime the walls. It creates a uniform surface for your topcoat and helps the paint stick better.
When it comes to the actual painting, start with your cutting in – that's using a brush to paint along the edges where the wall meets the ceiling, trim, and corners. Then, use your roller for the main wall surfaces. Load your roller evenly and apply paint in "W" or "M" patterns, then fill them in. Don't press too hard. Two thin coats are always better than one thick, drippy mess. Let each coat dry completely before applying the next.
When to Call a Pro (Like Us)
Look, I'm all for homeowners tackling projects they feel good about. It's rewarding. But there are definitely times when calling in a professional is the smarter move:
- High Ceilings or Tricky Spaces: Got vaulted ceilings or a stairwell that makes you nervous just looking at it? Ladders and heights can be dangerous. We've got the right equipment and experience to do it safely and efficiently.
- Time Constraints: If you've got a busy family life, a demanding job, or just don't want to spend your precious Big Sky weekends covered in paint, hiring us frees up your time. We can usually get a job done in a fraction of the time it would take you.
- Quality Expectations: If you want a truly flawless, factory-smooth finish, especially on trim or cabinets, it takes a lot of skill and specialized tools. We do this every day; we know the tricks to avoid brush marks, drips, and uneven coverage.
- Lead Paint Concerns: If your home is older, say pre-1978, there's a chance of lead paint. Disturbing it can be hazardous. Professionals are trained in lead-safe practices.
- Specific Finishes: Thinking about faux finishes, intricate patterns, or something beyond a basic flat wall? That's definitely pro territory.
Even if you're just feeling overwhelmed or unsure, give us a call. We're happy to talk through your project, give you an honest assessment, and provide a quote. Sometimes, the professional finish and the fact that you don't have to lift a finger are well worth the investment. We’re Big Sky Custom Painting, and we're here to help make your home look its best, whether you do it yourself or have us step in.
After the Last Brush Stroke
Once everything's dry, carefully remove your painter's tape. Pull it off at a 45-degree angle for the cleanest lines. Clean your brushes and rollers thoroughly if you plan to reuse them. Store leftover paint in airtight containers, labeled with the color, room, and date. You'll thank yourself later for touch-ups, trust me.
Then, step back and admire your work. Or, if we did it, enjoy the fresh, clean look without lifting a finger. Either way, a newly painted room feels fantastic.